Josh's Frogs
How To Make A Fake Rock Background
This how-to guide will walk you through the steps of making an easy-to-construct, durable, light weight, and convincing fake rock background for your terrarium or vivarium. The resulting display will provide years of enjoyment for both you and your pets. All of the materials are easily obtainable at your local home improvement and craft stores.
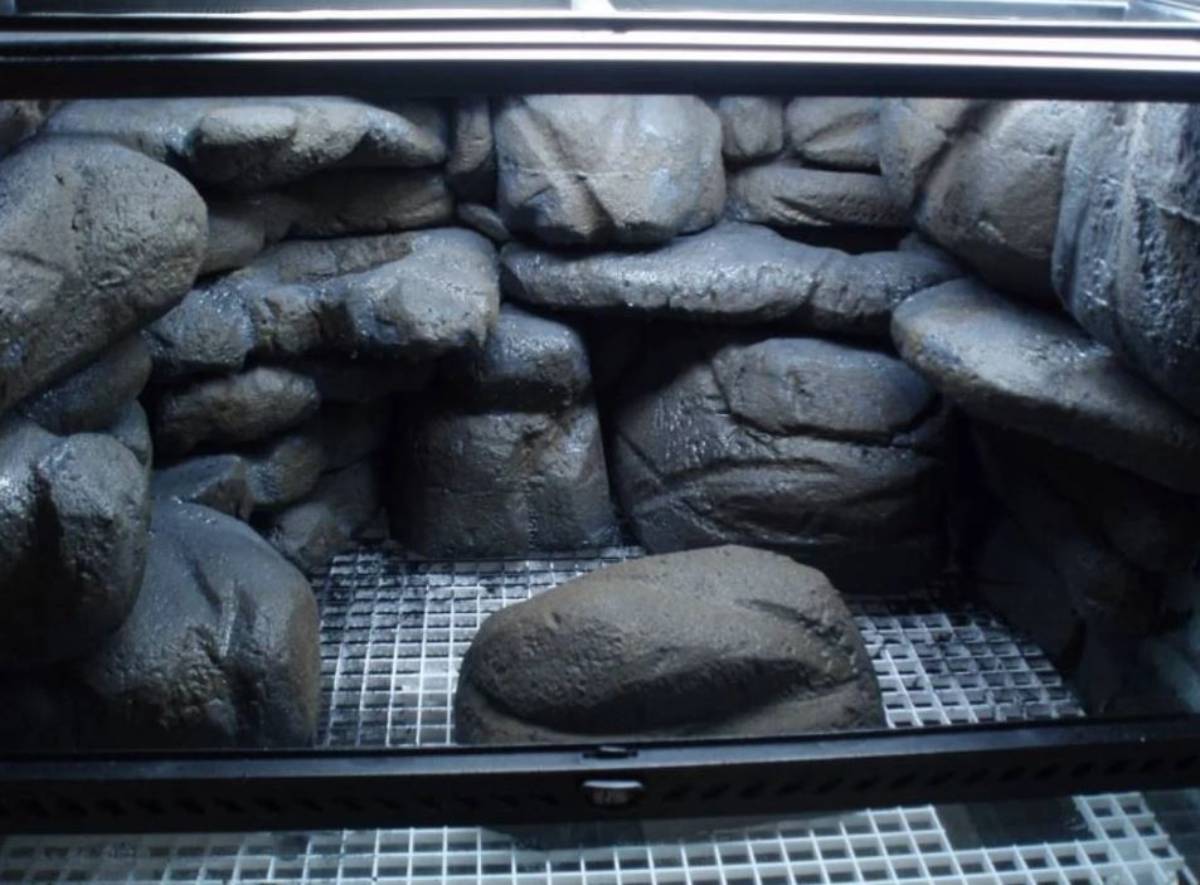
Here's how a customer made some fake rock structures with this method in their dart frog tank! Very creative! 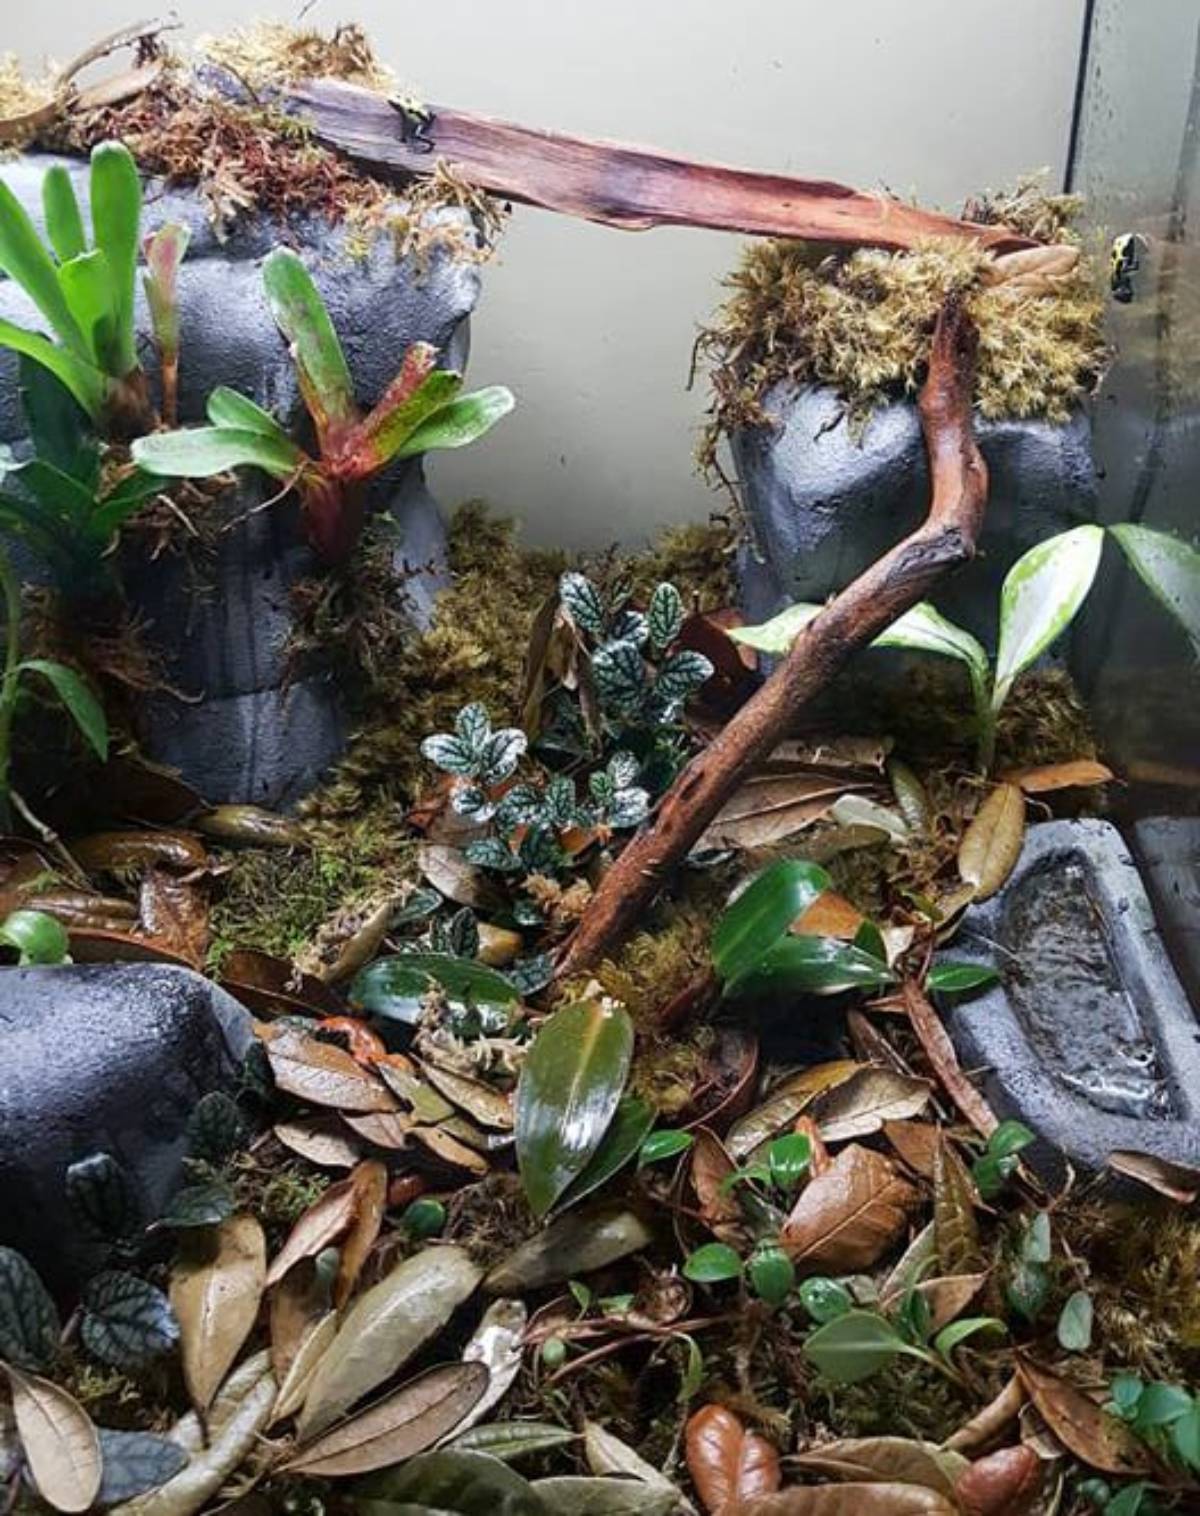
Photo credit: Krissy Whitehead
SHOPPING LIST:
- pink insulation foam
- Drylok masonry sealant or comparable brand
- concrete dye
- nylon brush
- sanding sponge, various grades
- serrated knife
- 1” PVC spacers
- egg crate
- hot glue gun and hot glue
- masking tape
- acrylic paint
- sand
- tin snips
- disposable gloves
INSTRUCTIONS:
- Empty out and clean the terrarium, making sure all interior surfaces are clean and dry. Then, lay out the 1” PVC spacers in a fashion that they will adequately support the egg crate false bottom.
- Cut the egg crate so that it will cover the entire bottom. A pair of tin snips works very well for this.
- Place the egg crate on top of the PVC spacers, checking to make sure it fits snugly. Trim if needed. After you are sure it fits securely, go ahead and attach the egg crate to the PVC spacers with hot glue. Your false bottom is now finished.
- Place pink insulation foam on the back and sides of the enclosure, above the false bottom. Secure in place with hot glue. Make sure that the doors of the enclosure will still be able to open and close properly–this is especially important if the doors swing open/shut, as on Exo Terra or Zoo Med terrariums.
- You are now ready to start shaping rocks. I prefer 2 inch insulation foam for this. Using a serrated knife, roughly carve out your rocks. Over-exaggerate any cracks, crevices, etc. you wish to be apparent in the finished rocks–subsequent sanding and painting will remove finer details if you are not careful.
- Sand the "rock" heavily with a course sanding sponge. Loose sandpaper works well, too. This will allow the fake rocks to appear rounded and weathered with age. This step will produce plenty of pink dust from the foam–you may wish to wear a painter’s mask, and vacuum up the dust as you go to avoid making a larger mess.
- Go over the rock with a finer sanding sponge. This allows you to smooth out any rough corners, as well as give the surface of the rock some texture. Also, make sure to sand the back part of the rock (that will attach to the background) flat, to facilitate gluing it to the background.
- Continue to make more fake rocks using the above steps. You may choose to glue them into place as you go, or do so all at the end. Pay attention to how the rock background is assembled–staggering or offsetting similarly shaped rocks can result in a much more natural appearance.
- After all of the rocks are glued into place, cover all of the remaining surfaces with masking tape. This will prevent the Drylok sealant from adhering to the glass or plastic trim. If it does get around the masking tape, any stray paint can be removed with a razor blade.
- Move the enclosure to a well-ventilated area. Make sure you protect the surface you are working on with newspaper or cardboard–this will prevent paint from getting everywhere. Lay the enclosure on it’s back, pull on a pair of disposable gloves, and get ready to paint.
- Open the can of Drylok, and pour a couple cups of it into a plastic container. Add some concrete dye, and mix thoroughly, remembering that the paint will dry lighter than the color it is when it’s wet.
- Now you’re ready to paint. Using a brush with nylon bristles, lightly apply the dyed Drylok. A brush with longer bristles will make it easier to get into the cracks of the rocks. Let excess Drylok run into the cracks – this will dry and serve to help hold the background together. Most likely, you will not cover everything in one coat. This is okay–Drylok dries very quickly, and you will be able to do a coat every 2-3 hours.
- As the Drylok dries, the exposed pink foam that was not painted will stand out. Waiting 2-3 hours between coats, cover the background several times, until there is no longer any pink visible. Make sure to apply at least 3 coats for durability, and ensure the final coat covers everything.
- Before the final coat of paint dries, throw sand on the wet paint to give the rock added texture. If a worn, smooth texture is desired, skip this step. Alternatively, the sand can be mixed into a final coat of paint. Allow everything to dry for at least a day.
- After 24 hours, the rock background can be painted with acrylic for added depth and color. Initially, a light wash of black acrylic paint diluted in water can give depth to the background, especially if it is allowed to settle into the cracks on and between the rocks. Earth tones, such as browns, reds, and greens can be used to give the rock a worn, weathered appearance, and can be used to mimic mosses and the like. After the paint has dried, remove the masking tape.
- After the background has dried for several days, cover the egg crate false bottom with weed block, and introduce soil, any wood, and plants to the enclosure. Spray everything down thoroughly, and allow the plants to grow in for a couple weeks. When the environment is stable and meets the needs of the desired inhabitants, introduce them into the terrarium and enjoy!