Josh's Frogs
Setting Up A Fluval Flex 15 Aquarium
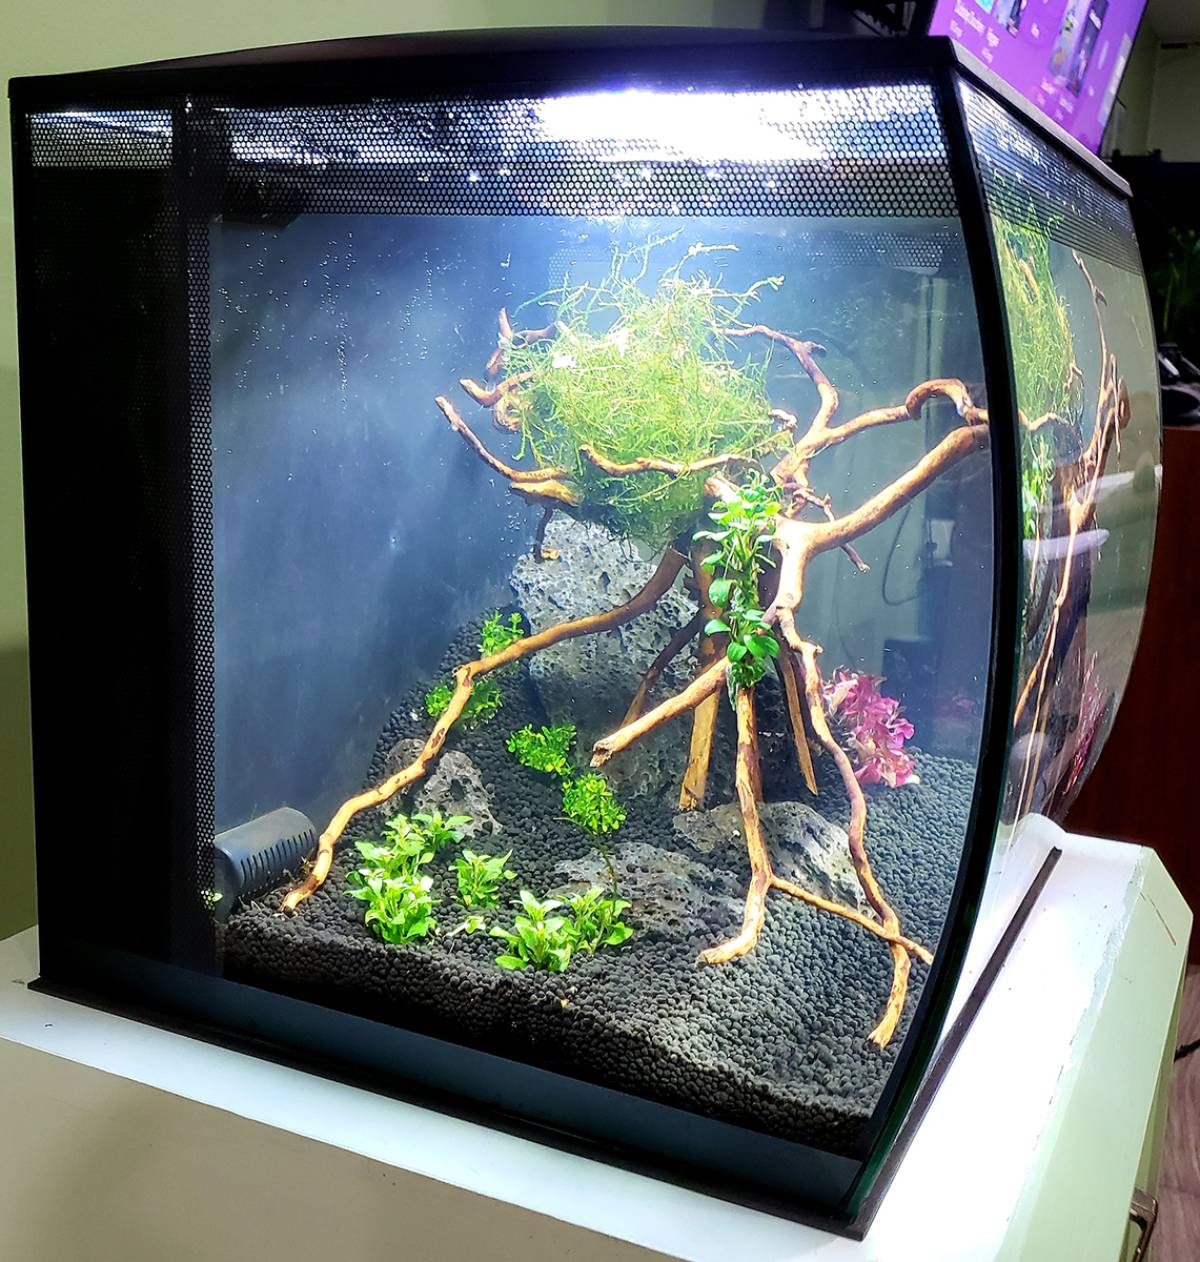
Its trendy curves, sleek, modern design and small to medium size make the Fluval Flex 15 a great beginner aquarium. The signature feature of the Flex tanks, and the reason for the name “flex”, is the convex bowed front panel that adds aesthetic beauty to the tank that’s sure to catch your eye. Despite initial speculation, it really doesn’t distort or magnify your view inside the tank either! You can match it with the stand for a great display in your home. I chose the black tank and stand, but they also come in white. Is 15 gallons too big or too small? The Fluval Flex also comes in a 9 gallon and 32 gallon version!

What do you think? Is this the tank for you? You can click the following link to see my YouTube video where I unbox this aquarium and go over key features.
https://youtu.be/TTXgj3Hltfo
Further in this blog, you will also see that I took some photos along the way to show step-by-step how I aquascaped this tank.
 Video available on on our YouTube channel!
Step 1: Choose Location
Choosing your location should probably be the first step in getting a new fish tank. Luckily with this one, since it is only 15 gallons, extra floor braces are not necessary as they are with larger tanks. You will probably still want to place your new tank somewhere near a water faucet for easy water changes and away from a direct window. Excess sun can cause algae outbreaks and even raise the temperature of the water in extreme situations. If you don’t have a gravel vac that connects to your sink faucet (such as an Aqueon Water Changer or Python No Spill Clean 'n Fill), be prepared to haul a bucket or two of water every time you do a water change using a more simple gravel siphon.
Step 2: Leak Test
The last thing you want is 15 gallons of water on your floor! I know what you’re thinking: the tank is brand new, shouldn’t be a problem right? Unfortunately, that’s not always the case. Although quite rare, it is possible for silicone to have factory defects from the manufacturer that could cause it to leak. Usually, leak tests are best done outdoors in case of large leaks. Since this is such a small tank, and since it was a cold Michigan winter outside at the time, I decided to just leak test my tank indoors. You will want to let it sit for at least a couple of hours, with 24 hours being the safest. If you spill water on the sides during filling, be sure to wipe it dry so when you check later you can see if new water has emerged from the outer silicone seams. It’s during this first fill that you will also learn how level the tank is. If unlevel, you will want to make it so via your own handiwork or finding a new spot for the tank completely. Stressing out certain glass panels more than others from the water being unlevel and pressure not being even can cause leaks or even a blowout down the road.

Step 3: Aquascaping
What do you want from this tank? Do you want live plants? Do you want something super low maintenance with fake decor? Does the particular species of fish you want to house have certain requirements of its environment? These are all things to keep in mind. Once you have the basics decided, I recommend looking at other aquascapes online for design inspiration. Personally, I like to take my time with this and even try a few different ideas. Some may not work out, or some may not turn out like you hoped. It’s easier to change it before you add water and plants, so make sure you are happy with your groundwork, or base aquascape, before you move on. Here is a photo of a proposed aquascape that I chose not to go with. Although it may have looked great, the wood took up too much room in the front of the tank and not only would it take away from swimming area for the fish, it would also have been a challenge to clean behind.

Step 4: Substrate
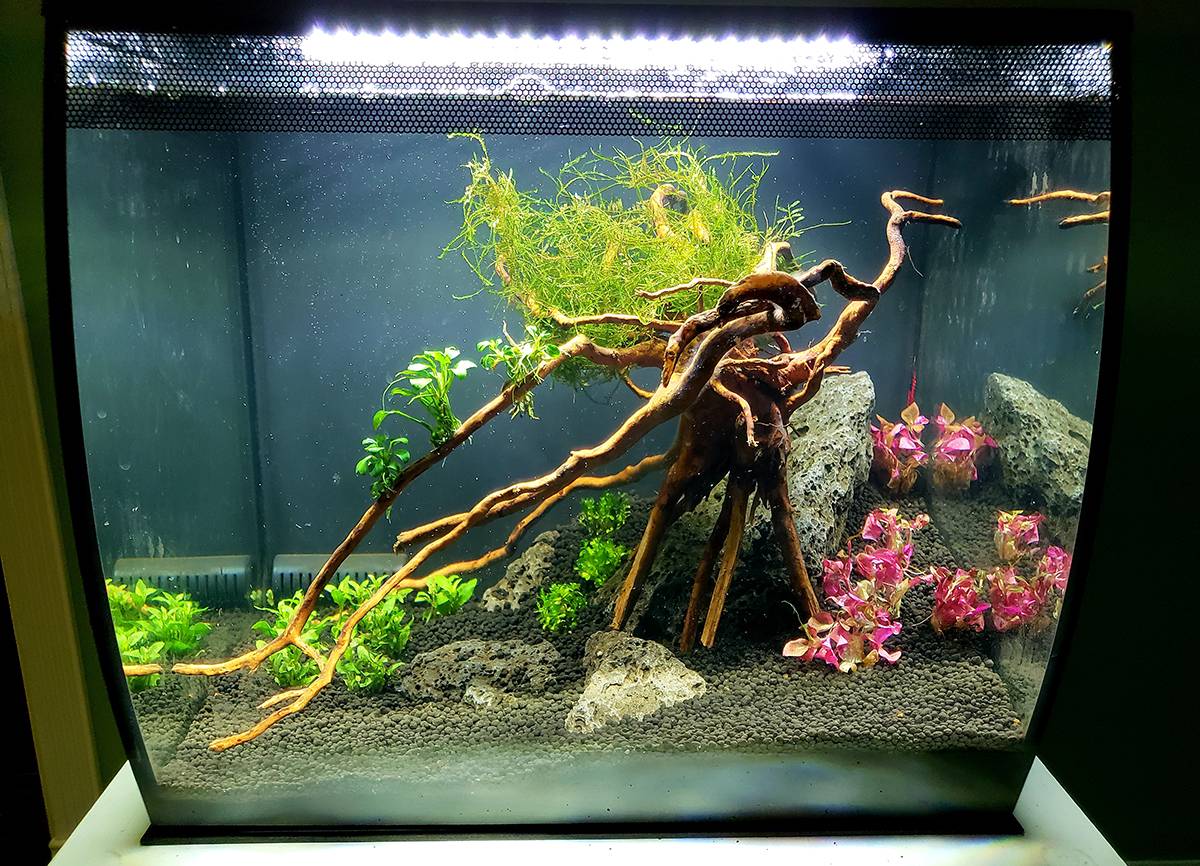
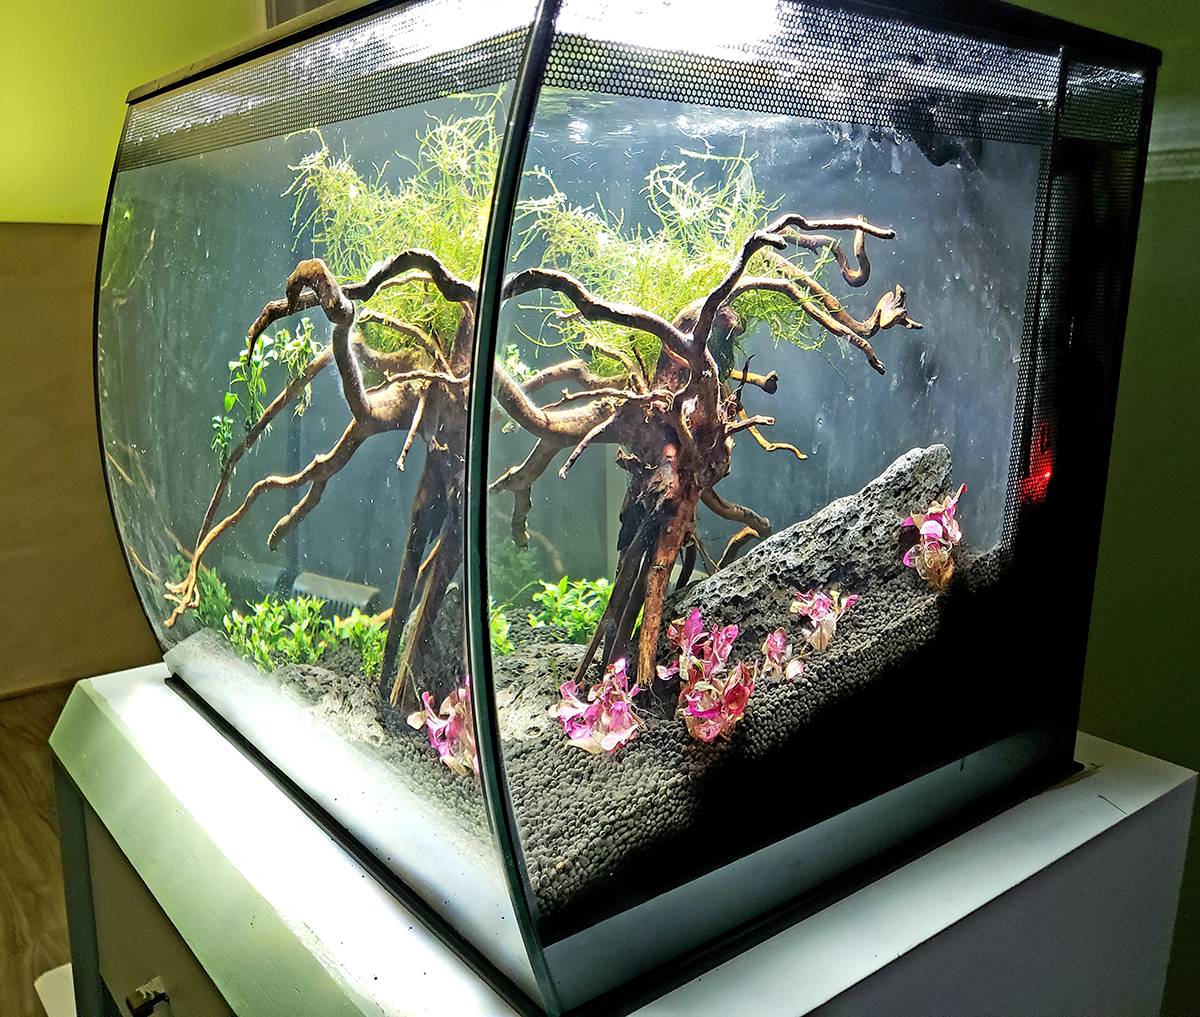
Substrate is the first thing you are going to want to add to your aquarium. There are a LOT of substrates to choose from with each having pros and cons. I chose Fluval Stratum, since I knew I was going to use live plants, and this volcanic, nutrient-rich substrate is well-known for supporting aquatic plantlife. I carefully rinsed it in a strainer in my bathtub before adding it to the tank. Again, it’s a good idea to have a general aquascaping plan in mind beforehand. Having a substrate layer that is not uniformly flat will add a lot more depth and natural, visual appeal to the aquascape. As you can see in my final aquascape pictured at the start of this blog, I banked my substrate higher in the back right corner and tapered it down.


Step 5: Add Hardscape
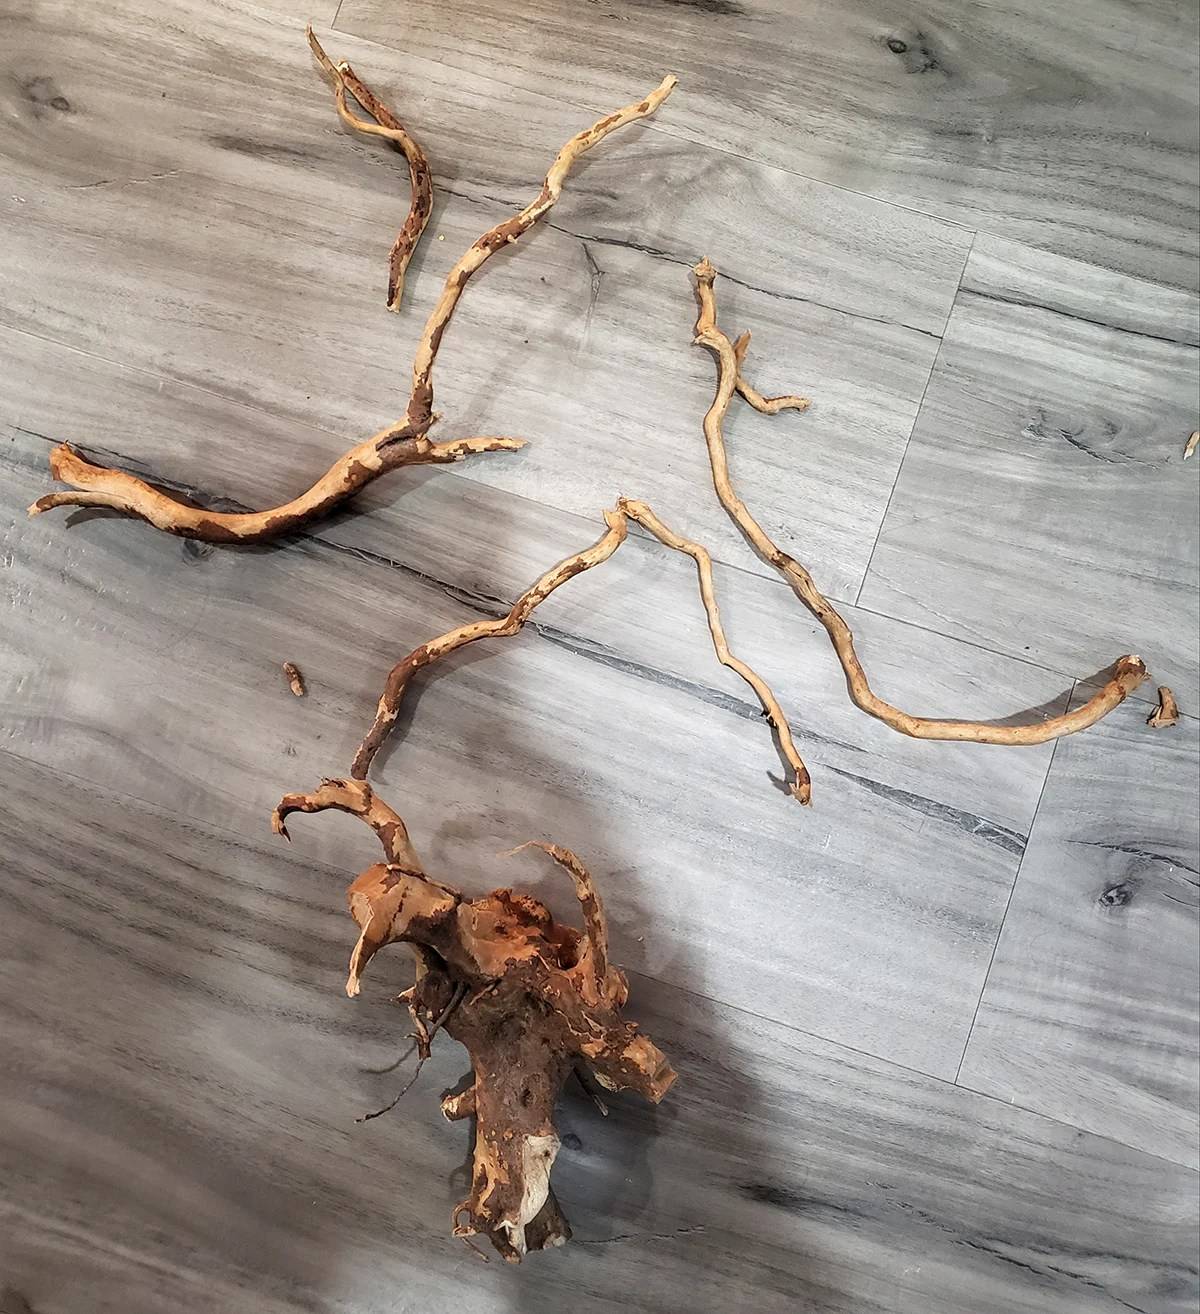
Hardscape items usually consist of the rock and wood materials that you plan to use for your aquascape. I used Tortoise Stone rocks that have a nice blue-gray color and a lot of small-detail character that looks great in an aquarium. In my final aquascape design, I ended up adding the rocks at the same time as the substrate, since I used them as a base to help bank up that right corner. I also picked out a cool piece of spider wood. Keep in mind that most dry woods will need time to sink. I was able to wedge mine between rocks and substrate enough to hold it down; otherwise, it would have floated and needed anywhere from a week or even a month to sink.

The piece of spider wood I chose was ALMOST perfect. Don’t forget, aquascaping is an art! Use your creativity and imagination and take your time until you achieve that perfect look you envision. For example, I wanted another extending branch on this main centerpiece. I wanted it to be just a tad more full. I took a different piece of spider wood and cut a few branches off to super glue one of them onto the main piece. Yes, standard super glue is completely fine and safe to use in an aquarium as long as it is just ethyl 2-cyanoacrylate without additives. It worked out perfect and nobody would ever be able to tell that a branch was added to the wood piece!
Step 6: Add Plants/Decor
Once your hardscape design is in place and your vision is on the right track, it’s time to add plants and/or decor. This goes back to your personal preference again. You can choose fake plants or live plants or no plants at all. You can make the tank look as natural as possible, or use a bunch of neon colored gravel and fake plants, it’s all up to you! If you plan to use live plants, I highly suggest research. Some live plants need C02 injection, certain substrates, some need high lighting, some are just plain finicky, and some are all of those things! I also recommend using Seachem fertilizers and other additives for success. In this aquascape, I kept it simple. I used Alternanthera reineckii ‘Lila’ on the slope at the right side of the tank. In the back left corner I used Staurogyne repens. I also superglued 3 Anubias nana ‘Petite’ plants onto the wood (this plant doesn’t have to be planted in the substrate). To finish it off I added a nice clump of Java Moss to the top of the wood that should fill in nicely with time. I didn’t glue this, I simply wrapped it around the wood to stay in place.

Step 7: Fill Aquarium
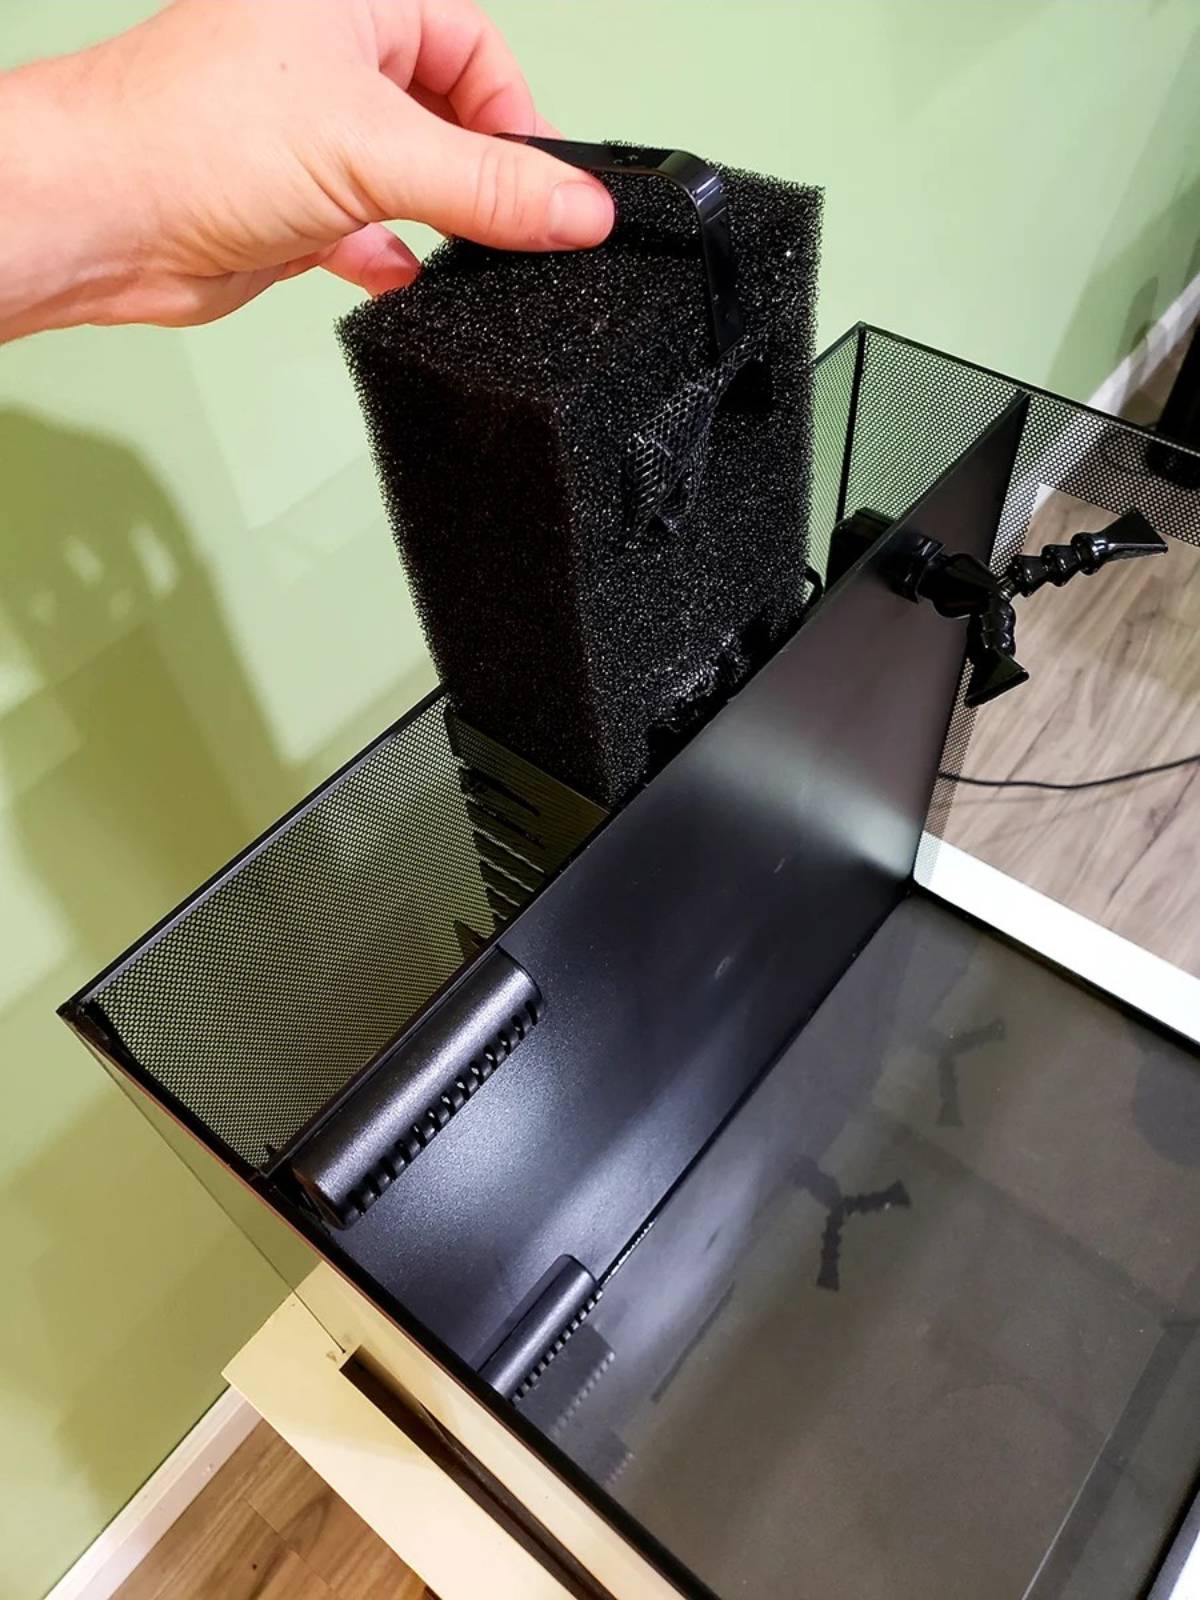
So your tank is all aquascaped to your liking and ready for water - exciting! Perhaps one of the coolest features with these tanks are the hidden and separated reservoirs at the back of the tank where your pump, filter, heater and other hardware are. I simply place the gravel vac at the back left slot of the tank to fill the aquarium slowly without disturbing anything in the tank!
If you have city provided water, it’s important to use a water conditioner to detoxify chlorine and any other heavy metals that may be present in the water. Honestly, it’s not a bad idea to use with well water either. I prefer and recommend Seachem Prime.
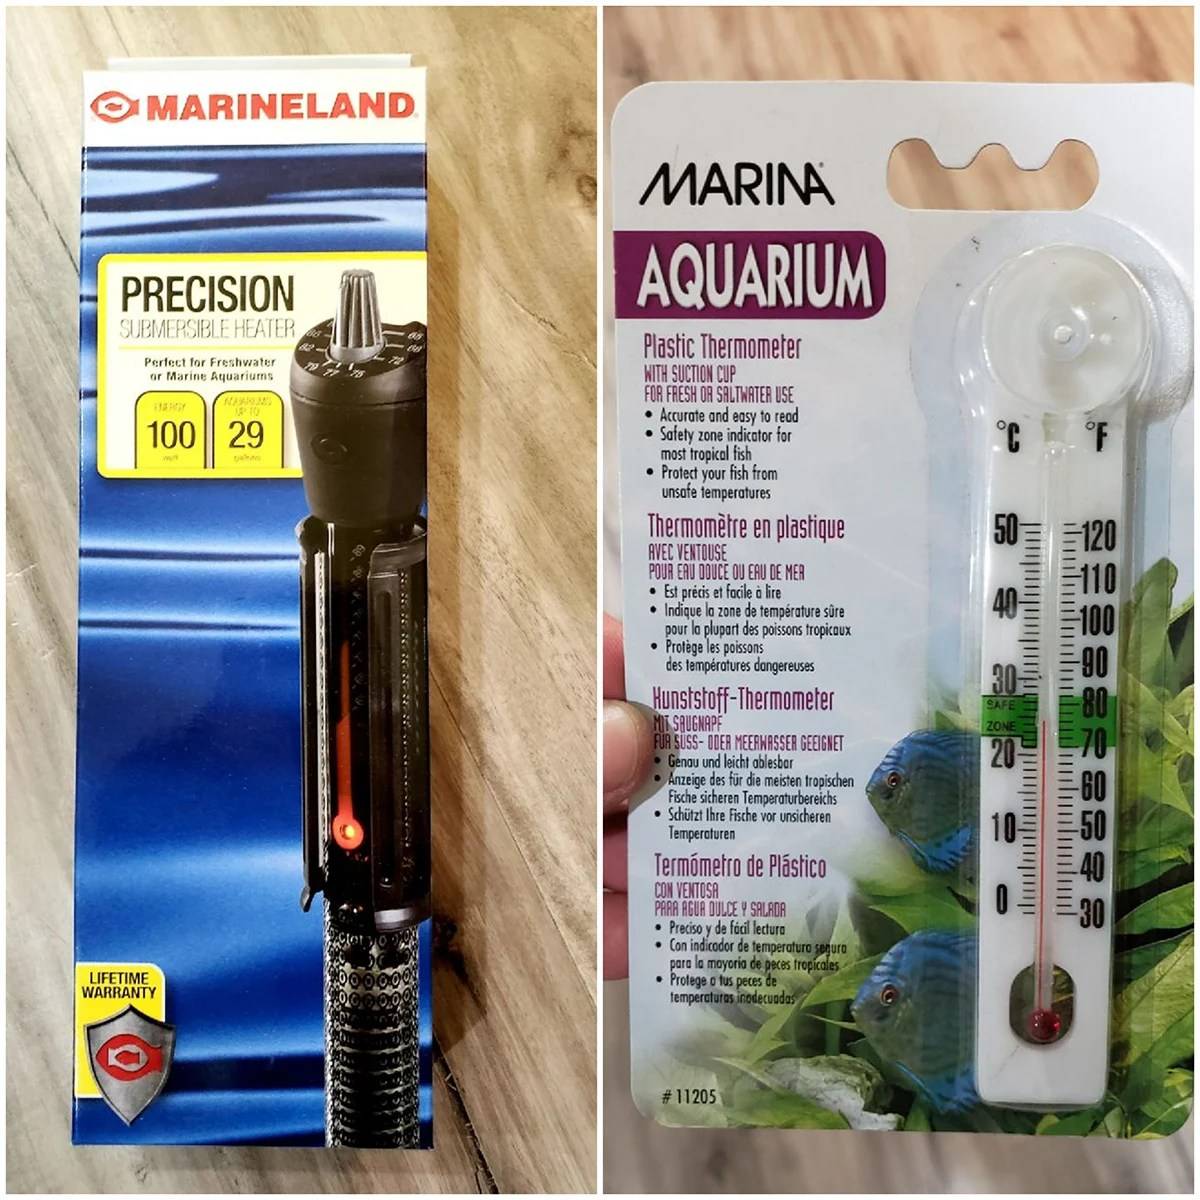
Did you purchase one of our kits? Great, then you already have a heater and thermometer! If you purchase only the tank, realize you will have to purchase a heater and thermometer separate, since they are not included with the tank itself.
Step 8: Cycle Your Aquarium
Not familiar with the Nitrogen Cycle? Read all about it! It’s very important to have an aquarium cycled before adding any live animals. This usually takes about 1 month, but can vary. If you add fish to your tank before it is cycled, they could very easily die!
BONUS: Adding The Stand
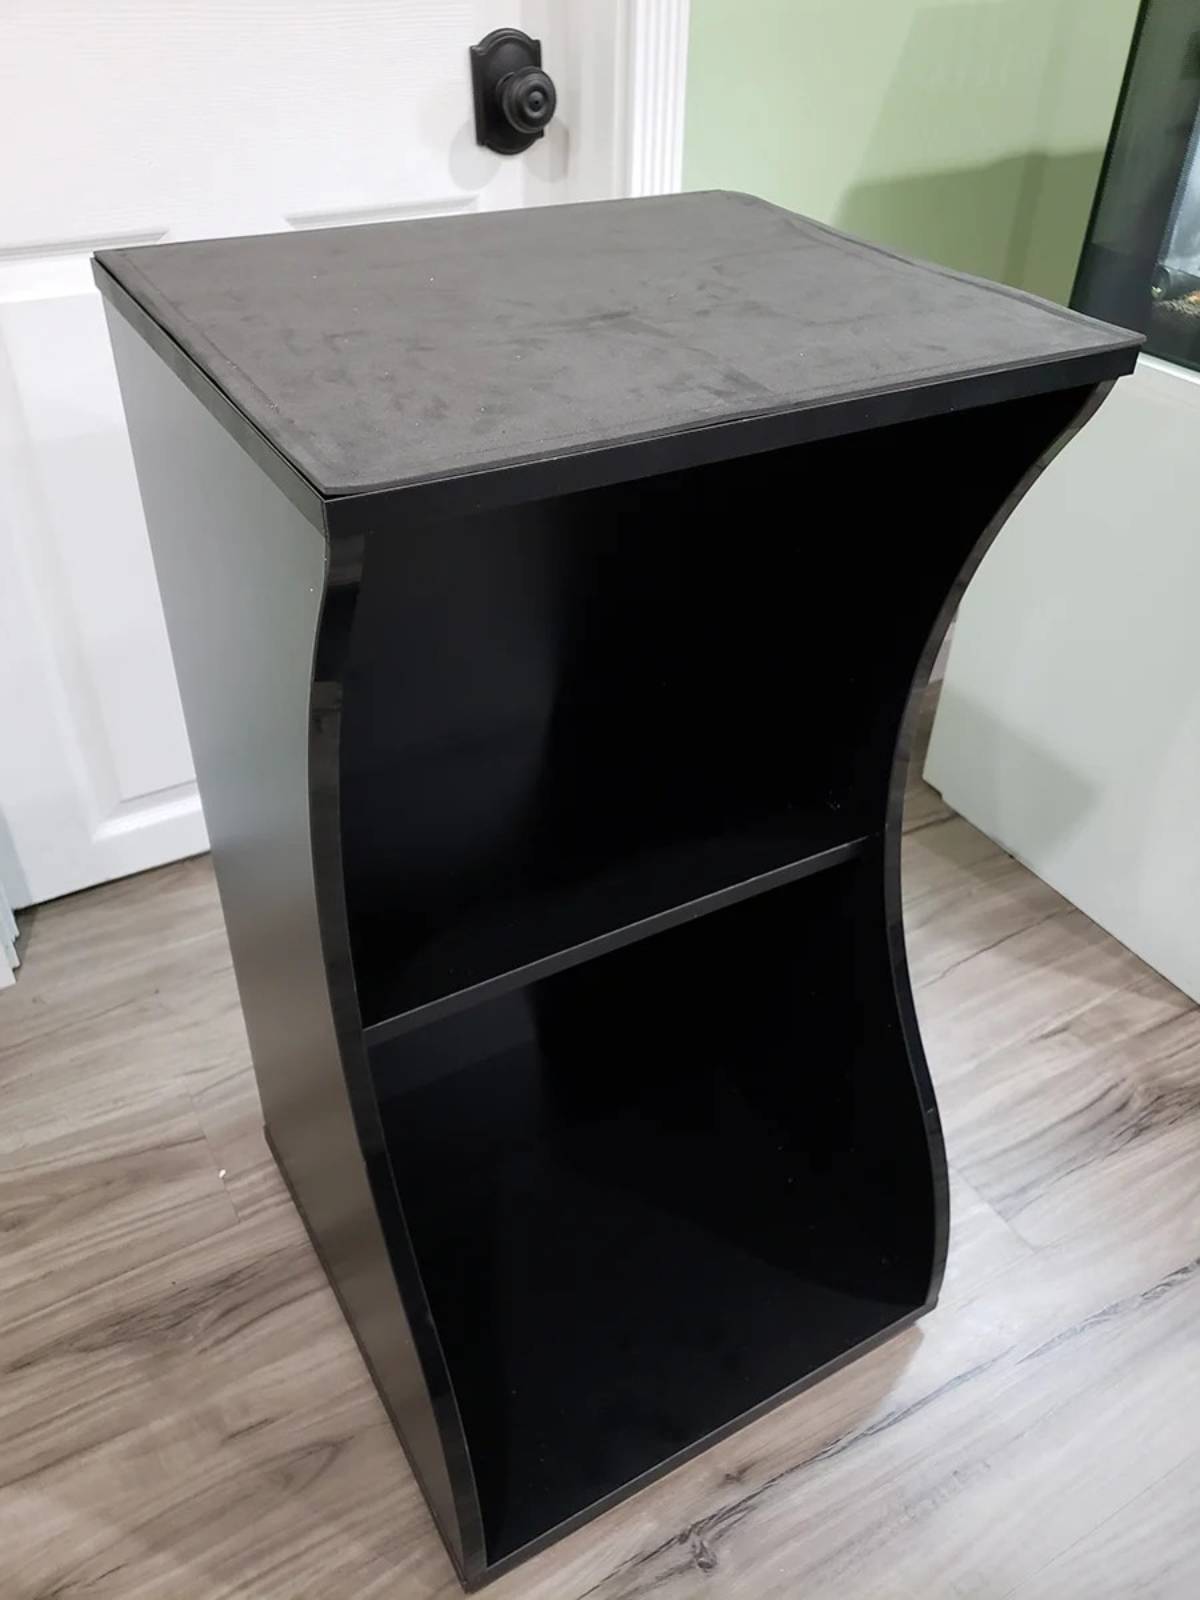
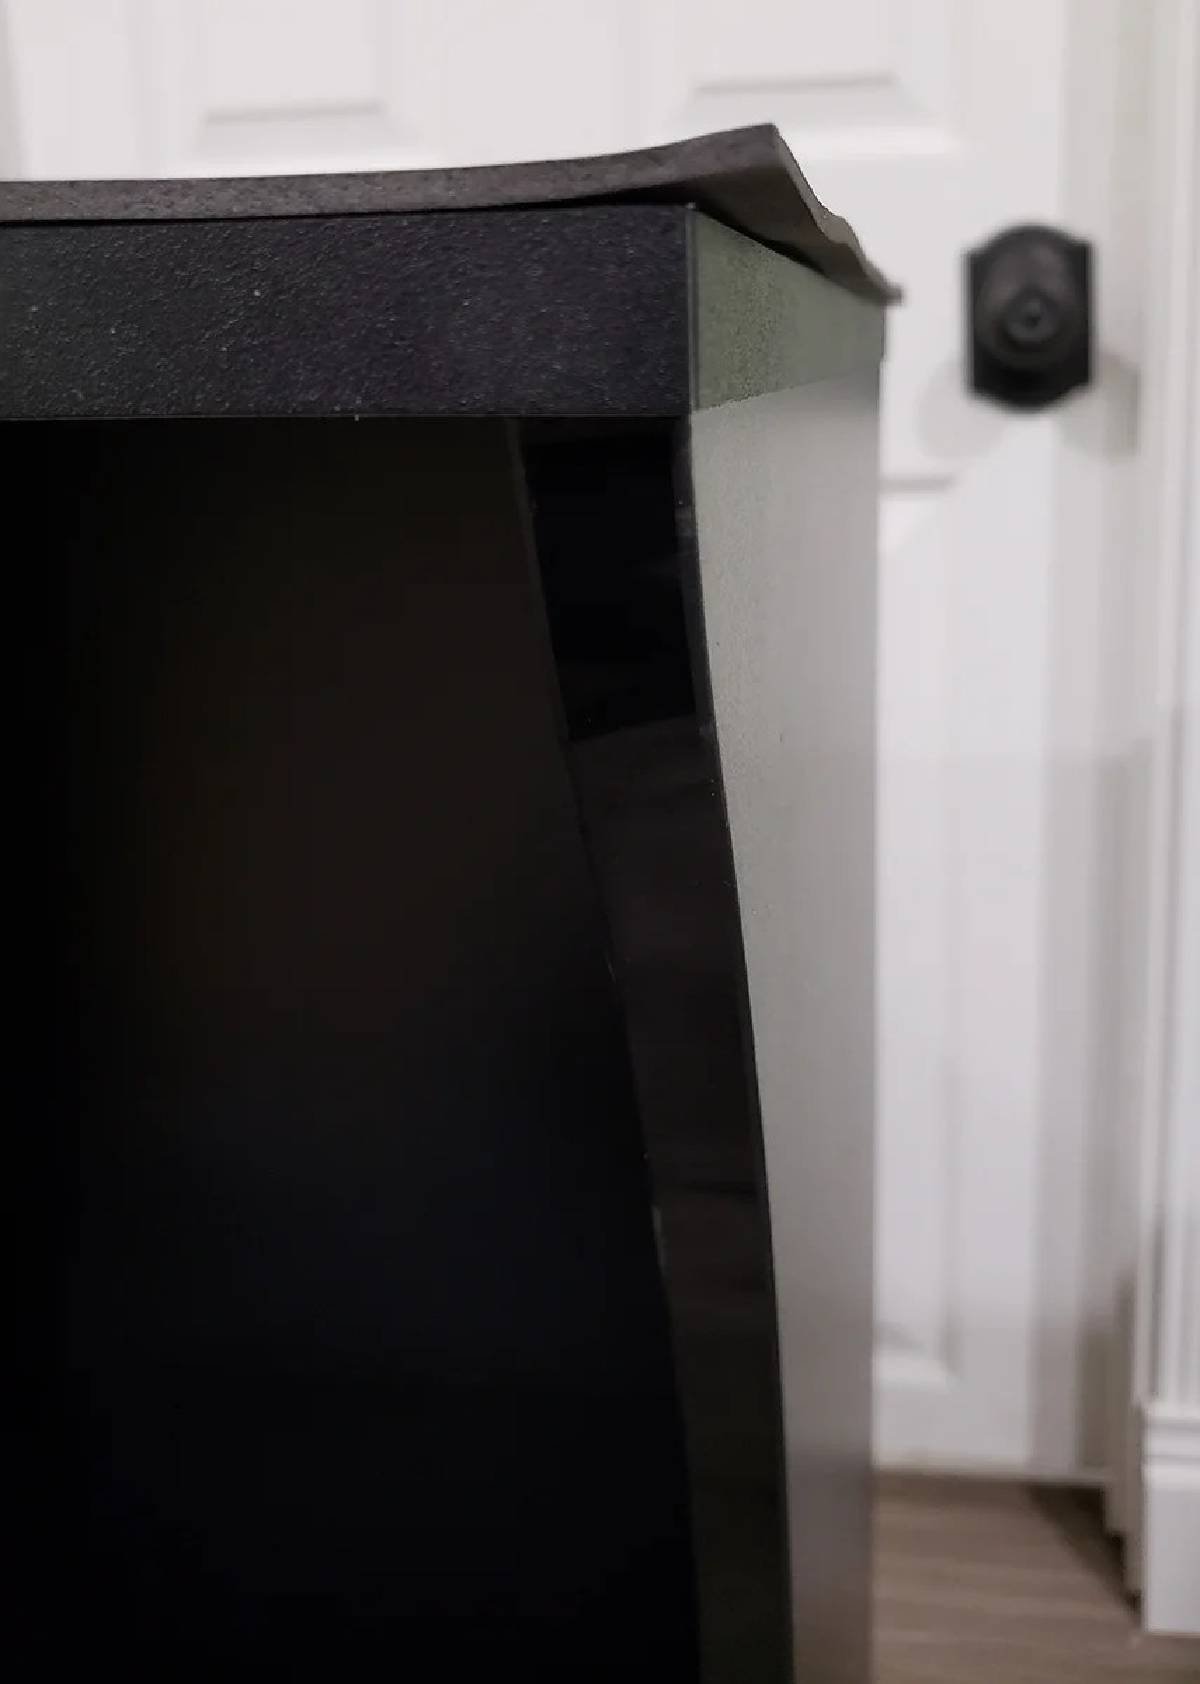
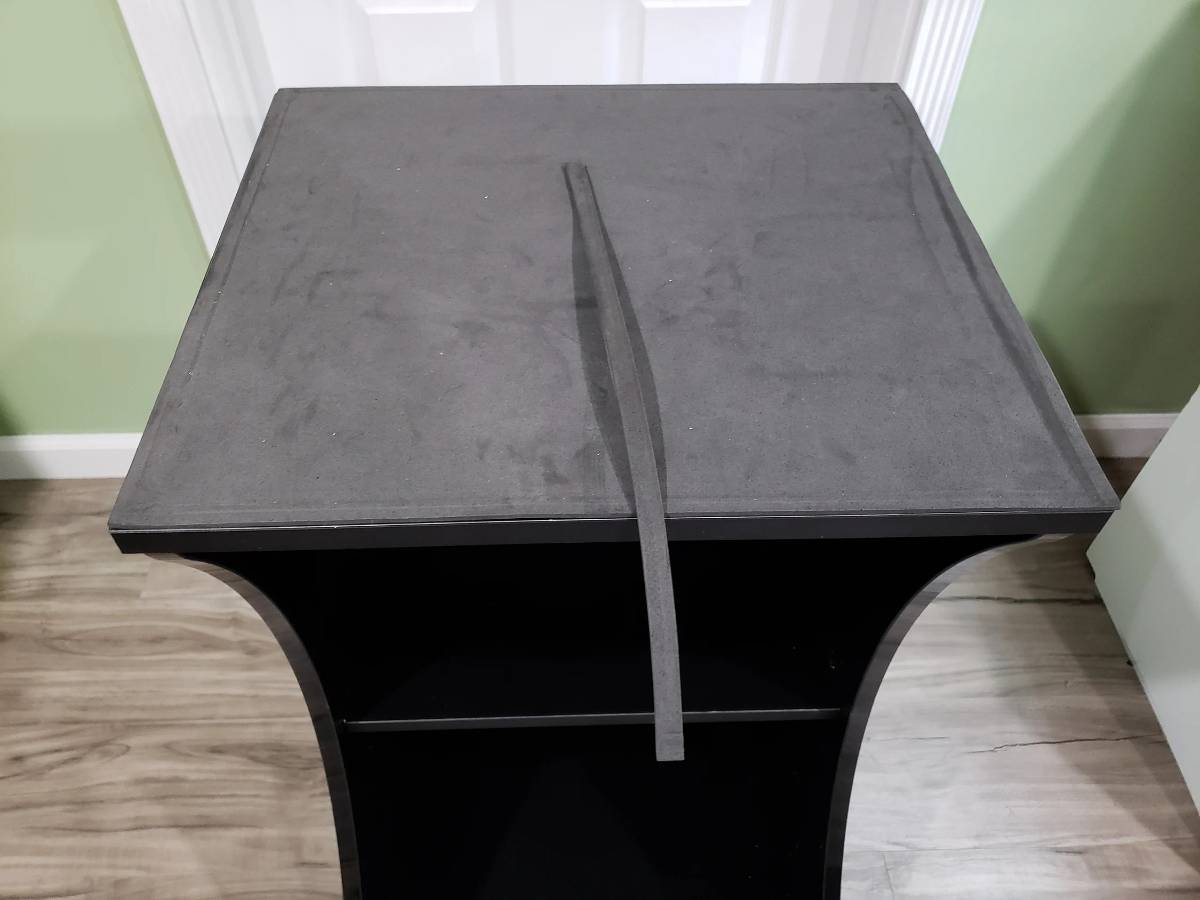
As mentioned earlier, the Fluval stand manufactured purposely for the Fluval Flex 15 is really worth using, in my opinion. It was easy to put together, it’s sturdy, and it’s really a perfect complement to your tank, turning your hobby into a nice display amongst your other furniture! One thing that might be worth noting is the thin piece of foam base layer that came with the tank for it to sit on was just a tad too large. This may or may not be the case for yours, but for mine I trimmed a little off with a razor blade so that it was perfectly flush with the edge of the tank and stand. I think this set-up is too sleek to have sloppy, overhanging foam!
I hope you enjoyed this article and remember, if you would like more information, we are a hub of numerous how-to articles and videos via our YouTube channel on this subject. Also, if you have any questions, we are always here for you! Simply send an email to [email protected] and it will be answered by someone of the appropriate department to ensure that you receive a knowledgeable reply.
Thanks for viewing and happy ""fishing""!
-Taylor