Josh's Frogs
Why you should buy from us

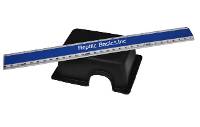
THG DIY Heat Tape (Custom Size, Sold by the Foot)
THG DIY Heat Tape (Custom Size, Sold by the Foot)
THG 3" Heat Tape (Sold by the Foot)$2.97 $3.49
THG 4" Heat Tape (Sold by the Foot)$2.97 $3.49
THG 6" Heat Tape (Sold by the Foot) $3.99
THG 12" Heat Tape (Sold by the Foot) $4.79
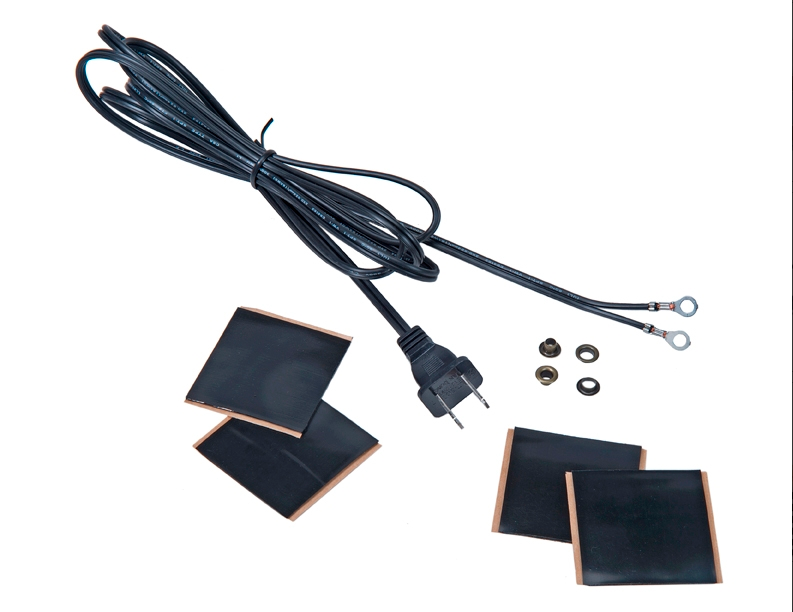
THG Wire/Clip/Insulator Set $4.99
About This Product
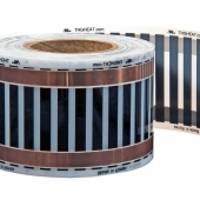
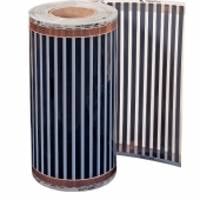
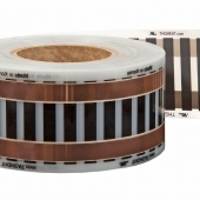
Introducing the new THG Heat heat tape!
This new heat tape is the result of 3 years of research and development- specifically with the reptile hobby in mind. Made by one of the leading manufacturers of heat tape in the world this is an exciting new development for our hobby.
We offer THG Heat tape in four sizes-
- 3″- 4 watts/ft
- 4″- 6 watts/ft
- 6″- 12 watts/ft
- 12″- 23 watts/ft
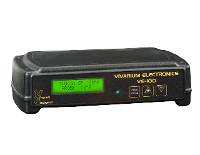
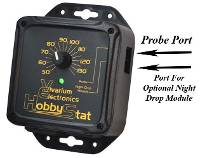
This heat tape MUST be used with a thermostat. We use and recommend the new Vivarium Electronics line of thermostats.
 |
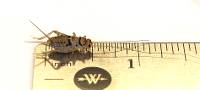
First- you will want to mark your heat tape ends. Make a small mark about 1/4″ in from the end on the center of each copper strip. |
 |
Next- Using a hole puncher (regular school model is fine) punch a hole centered on each of your marks. |
 |
Next- Carefully insert the flat eyelet in between the laminate layers. This sometimes takes a little patience! |
 |
Next- Line up the eyelet with the hole and insert the taller half of the rivet through the hole. |
 |
Next- put the shorter half of the rivet on the protruding tall half |
 |
Now you will need to smush the rivet completely. This is best done with the crimping pliers designed for this. You know you have a good connection when you hold the heat tape at the connection and the eyelet can not pivot on the rivet.There should be no movement. If there is then you will need to crimp the rivet again. Unlike the older style connectors, you CAN re-crimp if needed. There are no “teeth” that can only crush one time. |
 |
Now you will need to sandwich the connection between the two pieces of heavy insulating tape provided. Repeat this on both rivet connections and you are done! |
 |
The finished tape insualtion can be trimmed with a scissor if needed. Be sure you leave an ample covering of the connection. We like to keep the edge of the tape even with edge of the heat tape. |
 |
Do this on the top and bottom of both sides. |
 |
Fold electrical tape over the copper buss-bar on the non-connected end and you are done! |
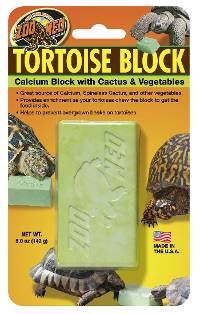
Other Customers Also Bought


_new_label-1-6b1c0db2.jpg?width=200)


Customer Reviews
0.0 out of 5 stars
Review data
5 star reviews
- 0%
4 star reviews
- 0%
3 star reviews
- 0%
2 star reviews
- 0%
1 star reviews
- 0%
Reviews
There are currently no customer reviews.